
Clear Skin DIY: Whip Up Your Own Acne-Busting Face Mask at Home!
Hey there, beauties! Are you on a quest for clearer, acne-free skin? Look no further because I’ve got the perfect solution for you – a fabulous DIY Acne-Busting Face mask that you can whip up right in the comfort of your own home. Say goodbye to those pesky pimples and hello to radiant, glowing skin!
Gone are the days of harsh chemical treatments that strip your skin of its natural oils. It’s time to embrace the power of natural ingredients to combat acne and restore balance to your complexion. Let’s dive into the ultimate guide to creating your very own acne-busting face mask!
Ingredients to Use
When it comes to fighting off those stubborn breakouts, certain ingredients stand out for their exceptional acne-fighting properties. Honey, with its antibacterial and anti-inflammatory properties, can help soothe and heal acne-prone skin. Tea tree oil is another powerhouse ingredient known for its ability to kill acne-causing bacteria and reduce inflammation. And let’s not forget about bentonite clay, a natural detoxifier that helps draw out impurities and unclog pores.
Each of these ingredients plays a crucial role in combating acne, making them the perfect choices for your DIY face mask. Not only are they effective, but they are also gentle on the skin, making them suitable for all skin types.
Mixing and Application
Now that you’ve gathered your acne-fighting ingredients, it’s time to mix them together to create a potent face mask. Simply combine a tablespoon of honey with a few drops of tea tree oil and a spoonful of bentonite clay. Mix well until you have a smooth, creamy consistency.
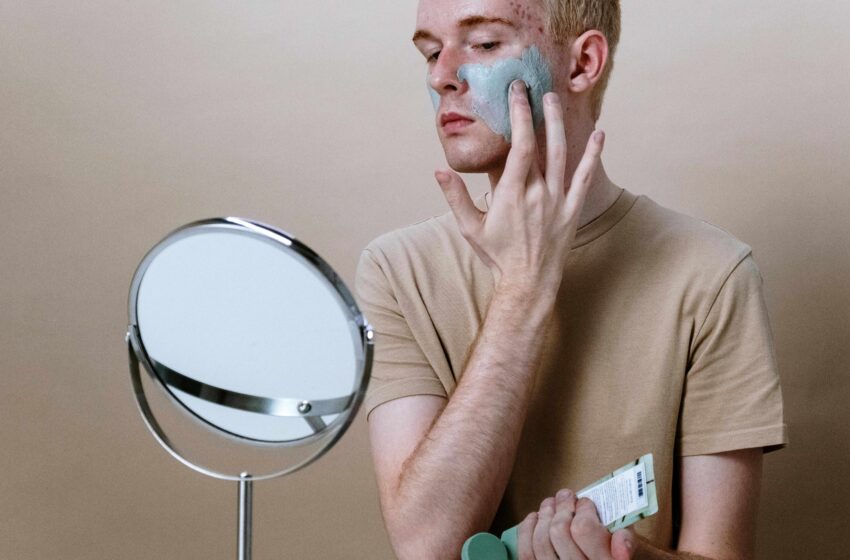
Before applying the mask, make sure to cleanse your face thoroughly to remove any dirt or makeup. Using clean fingers or a brush, apply a thin layer of the mask to your face, avoiding the delicate eye area. Allow the mask to sit for 10-15 minutes to work its magic, then rinse off with warm water.
Tips for Best Results
For optimal results, it’s important to use your DIY acne-fighting face mask consistently. Depending on your skin’s needs, you can use the mask 2-3 times a week to keep breakouts at bay. Be sure not to leave the mask on for too long, as this can lead to dryness and irritation. Follow up with your regular skincare routine to keep your skin looking its best.
Customize the mask based on your skin type and specific concerns. If you have oily or acne-prone skin, consider adding a few drops of witch hazel or lemon juice for extra oil-control. For those with sensitive skin, opt for a gentler ingredient like aloe vera gel to soothe and calm inflammation.
Alternative Ingredients and Variations
Looking to switch things up or address specific skin concerns? There are plenty of alternative ingredients you can incorporate into your DIY face mask recipe. Try adding a tablespoon of yogurt for its gentle exfoliating properties, or a dash of turmeric for its anti-inflammatory benefits.
If you’re dealing with combination skin, consider mixing and matching different ingredients to target specific areas of your face. For example, apply a honey and tea tree oil mask to your T-zone to control oil, and a yogurt and turmeric mask to your cheeks to brighten and even out skin tone.
Conclusion
And there you have it, lovelies – the ultimate guide to creating your very own Acne-Busting Face mask at home! With the power of natural ingredients on your side, you can say goodbye to blemishes and hello to clear, radiant skin. Give the recipe a try and watch as your complexion transforms before your eyes. Here’s to a happier, healthier, and more confident you!
So, what are you waiting for? Gather your ingredients, mix up a batch of this fabulous face mask, and treat your skin to the TLC it deserves. Your skin will thank you, and you’ll be glowing with confidence in no time!